

Welcome to today’s daily kōrero!
Anyone can make the thread, first in first served. If you are here on a day and there’s no daily thread, feel free to create it!
Anyway, it’s just a chance to talk about your day, what you have planned, what you have done, etc.
So, how’s it going?
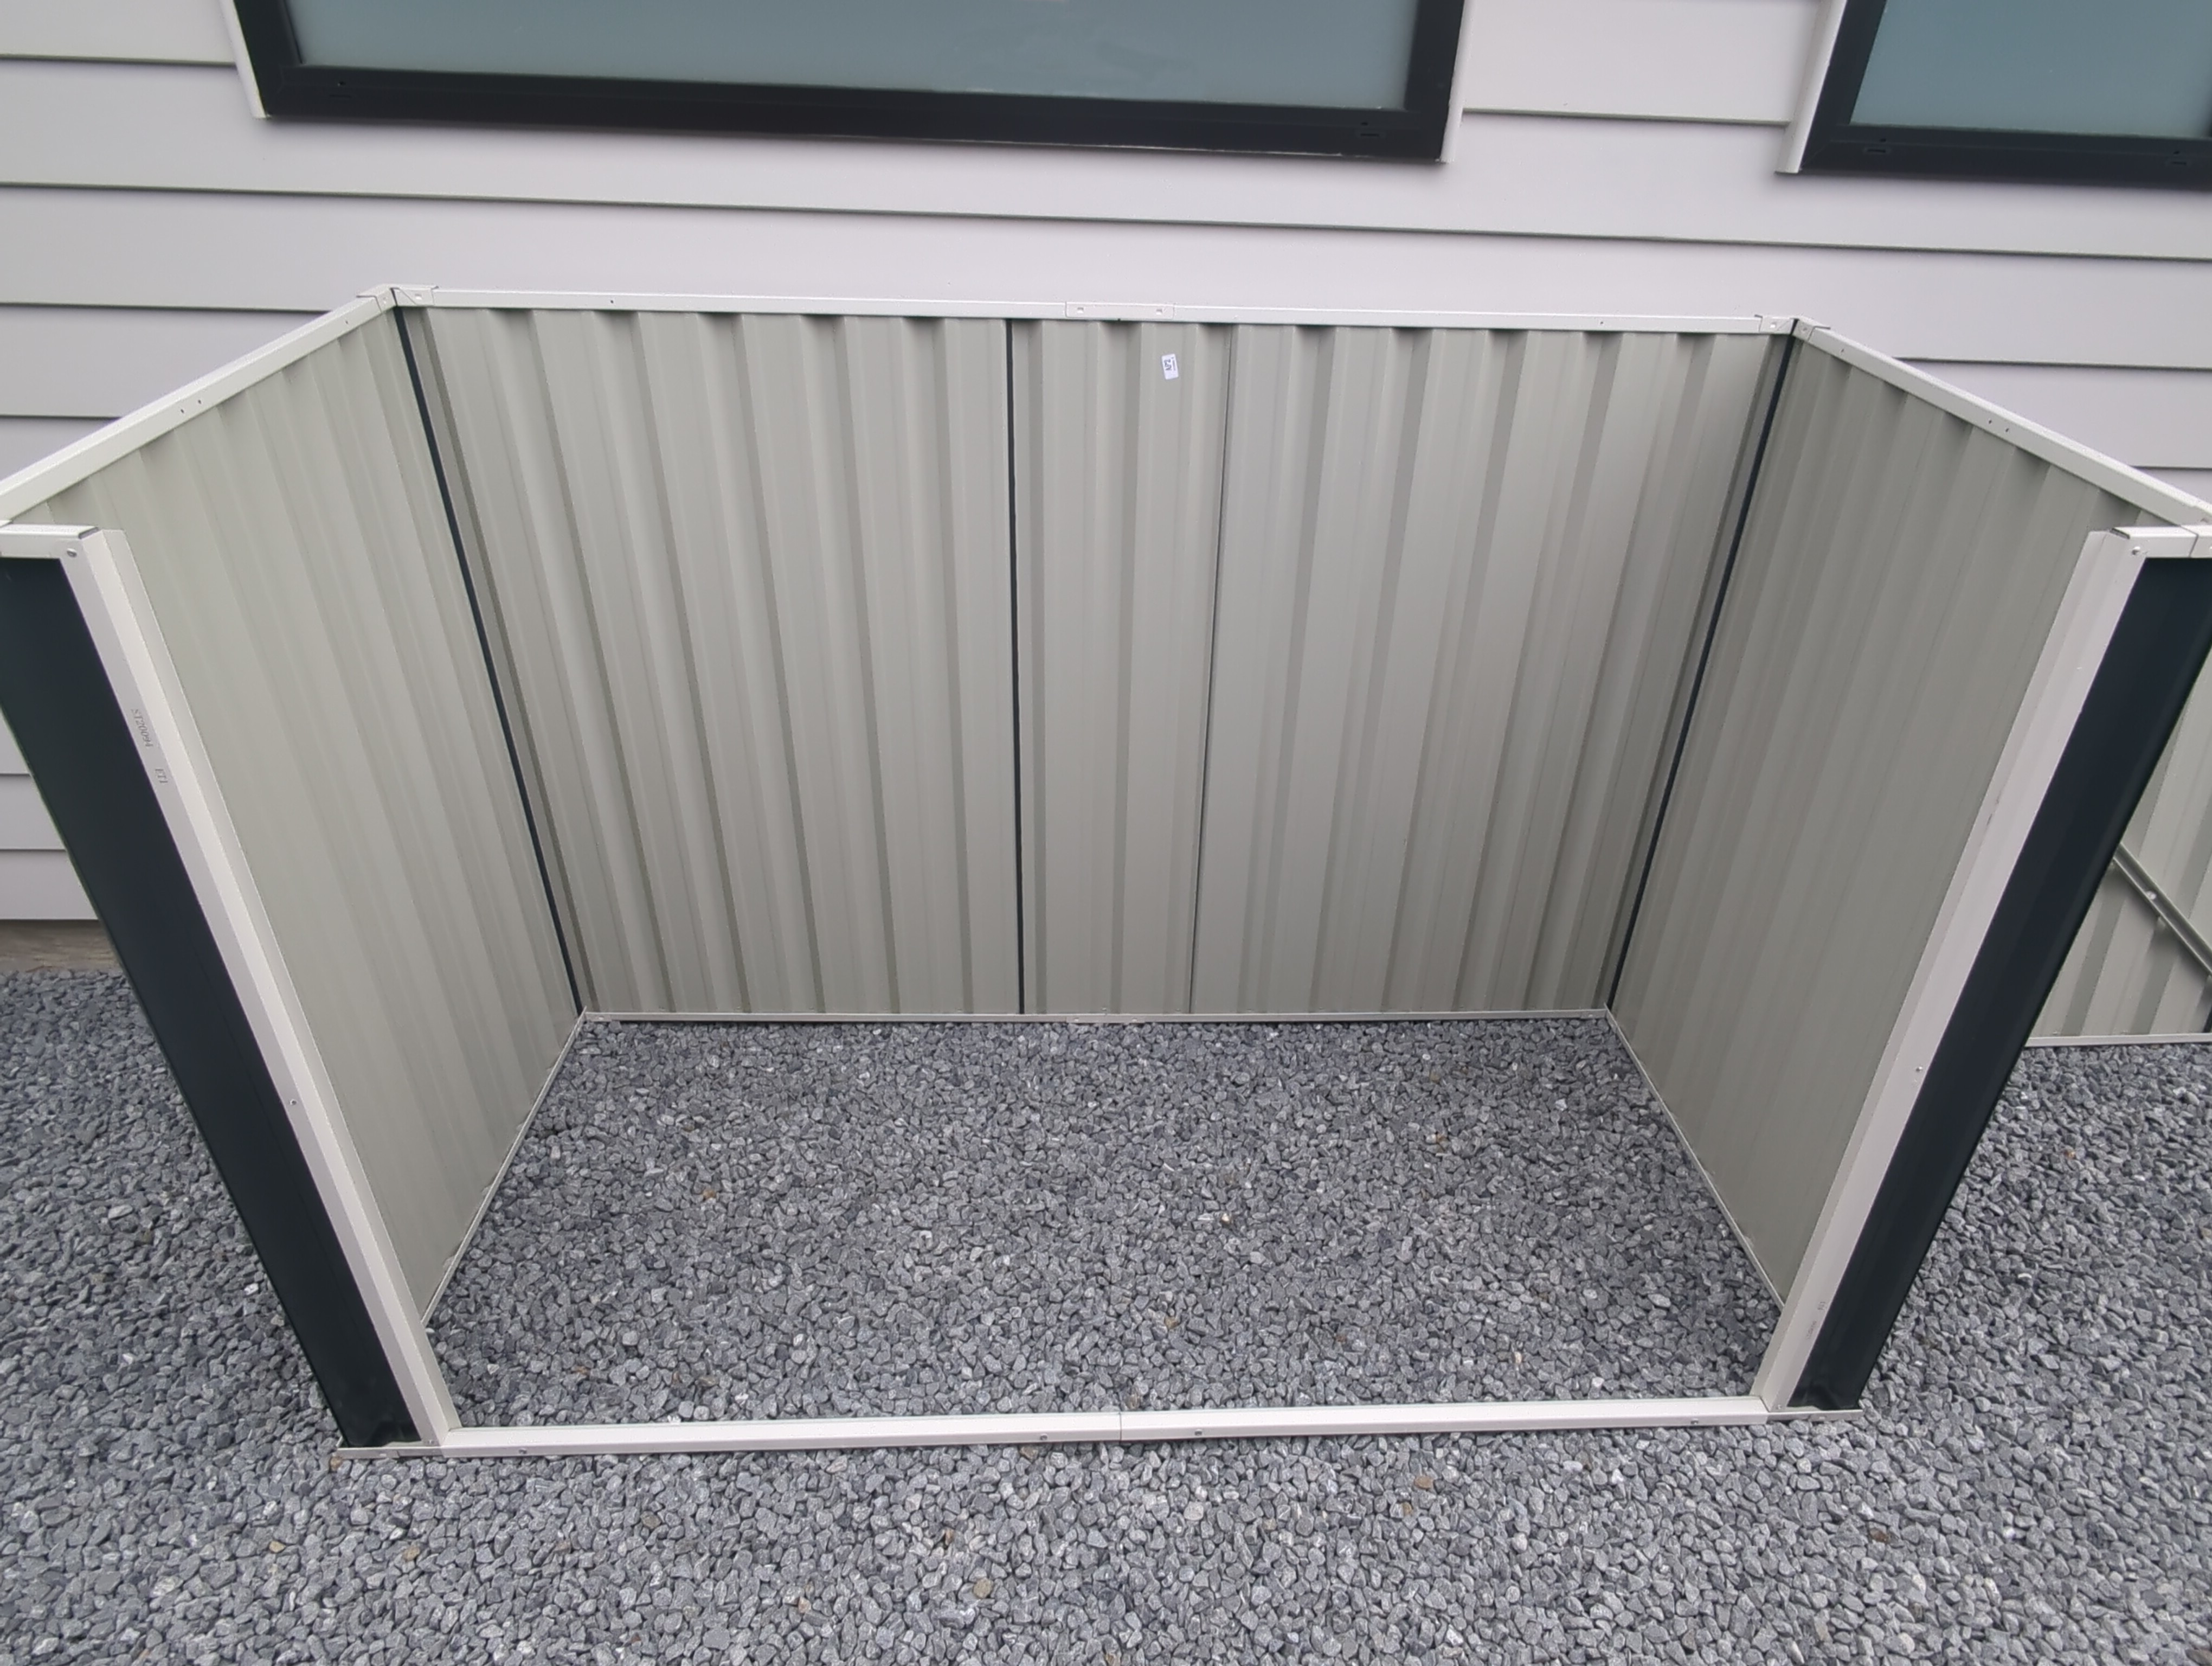
Progress photo!
Three walls, four if you count the front one which is mostly empty waiting on the doors. Roof is done but not attached yet, and I’m still working on the doors.
You might be thinking this is very short for a garden shed, it’s one of these, picked because it fits next to the house below window level.
Looking good.
I was curious if this was the shed you were putting up! Hilarious. I read the reviews which matches with your progress updates.
Was going to get this for my place. Will be interested to hear your review once it’s done.
The instructions started out ok, some ambiguity but I just skipped the drilling hole steps to start then when the pieces were coming together it was clearer how it fit together so I went back and drilled the holes (after fixing bits I got wrong!). It always had a picture of a drill bit to show where to drill holes. But as I went through the steps, there were parts it didn’t say to drill, and towards the end it just assumed you knew what you were doing. It would say for this step you need 4 screws, then have a picture of the placement of two screws and just had some screws hanging out along the side of the picture. I eventually worked out these screws were supposed to go in the same place on the back, but the screws weren’t anywhere near that position in the picture.
One step showed how to rivet one corner, two each side for 4 total on the corner. Then said you need 8 rivets for this step. There are 4 corners so I just riveted the two back ones with 4 each but who knows what they meant 😆. My assumption is they needed more reinforcement because the roof hinges at the back.
And then one step said I need part C8. I didn’t have many parts left, and there was no C8. It said I needed 6 of them but I had 8 C1s which looked the same. They were for the corners to hold the walls together (four on top, four on bottom). I have no idea how 6 of them would work, you’d have two corners not attached.
The bit I found most frustrating about the instructions was that they never said which way around to put the steel sheets. You had to pick through and work out where it would end up to decide if this was an inside or outside facing bit, and it would change on the same page so sometimes it would show the front and sometimes the back. The sheets are a different colour on the back so it matters. Plus some sheets are cut on an angle or have pre-drilled holes so you don’t want to get it wrong.
It’s a shame they don’t post the instructions on their site for us to all laugh at.
Also, it’s not mentioned anywhere but you need a rivet gun. I got the cheapest one, which was less than $20, and did the job fine. I’ve never used one before, and only worked out you can change the attachment for different rivet sizes, it was a lot easier after that 😆. You also need a drill and screwdriver.
Looks like a good size for some extra outdoor storage. I’ve got a couple of garden raised beds from them a couple of years ago, I see they’re doing a knock-off of the Birdies garden beds now too 🤔
Oooh, I didn’t notice that. Do you like the garden beds? Do they do ok filled with soil for years?
They’re showing a small bit of rust, but I’m using them partially buried as the ground wasn’t level, so I don’t expect them to last forever. I think they’re coming up on 4 years now. They were the only ones I could find that had a long narrow configuration (2.5M x 90cm) that I wanted at the time.
It was this one: https://www.steelmates.co.nz/garden-shed/planter-box/plant-box-new-model-with-4-layout-options-grey
Ah that’s cool, the one kit can be assembled in different layouts. I might come back to this once I’ve had recovery time from building this shed 😆
Haha, unless they’ve changed the design, they don’t need much drilling and no rivets. Just need to make a couple of holes and use screws at each of the reinforcement points on the top/bottom rails
Well it says screwless design, no tools needed, so I guess they have changed the design.
Well there you go!
Ripped a fair amount of plasterboard paper off the ceiling when removing 9m of LED light strip. Damnit! What’s the best prepper/sealer for plasterboard?
Skim of plaster and a couple of coats of primer/sealer? (I’m not a builder)
I’m also not a builder but I’d do something similar. Sand it back until you have a patch that’s well attached at the edges, fill with something like this, then sand back to be flush with the ceiling. Then paint the whole ceiling (otherwise it might be obvious you’ve painted a patch).
Didn’t realise Monday was a holiday! Not sure what I should do with this unexpected long weekend…
Something productive?
I have full blown Fridayitis. Probably worse bout of it due to being first week back.
I’m off on holiday on Monday so I’m the opposite 😆