Oh wow thanks. I did lightly sand the top surface, that’s about it.
Came here from reddit, this place is pretty chill, I think I’ll stick around.
- 6 Posts
- 27 Comments
Joined 1 year ago
Cake day: June 20th, 2023
You are not logged in. If you use a Fediverse account that is able to follow users, you can follow this user.
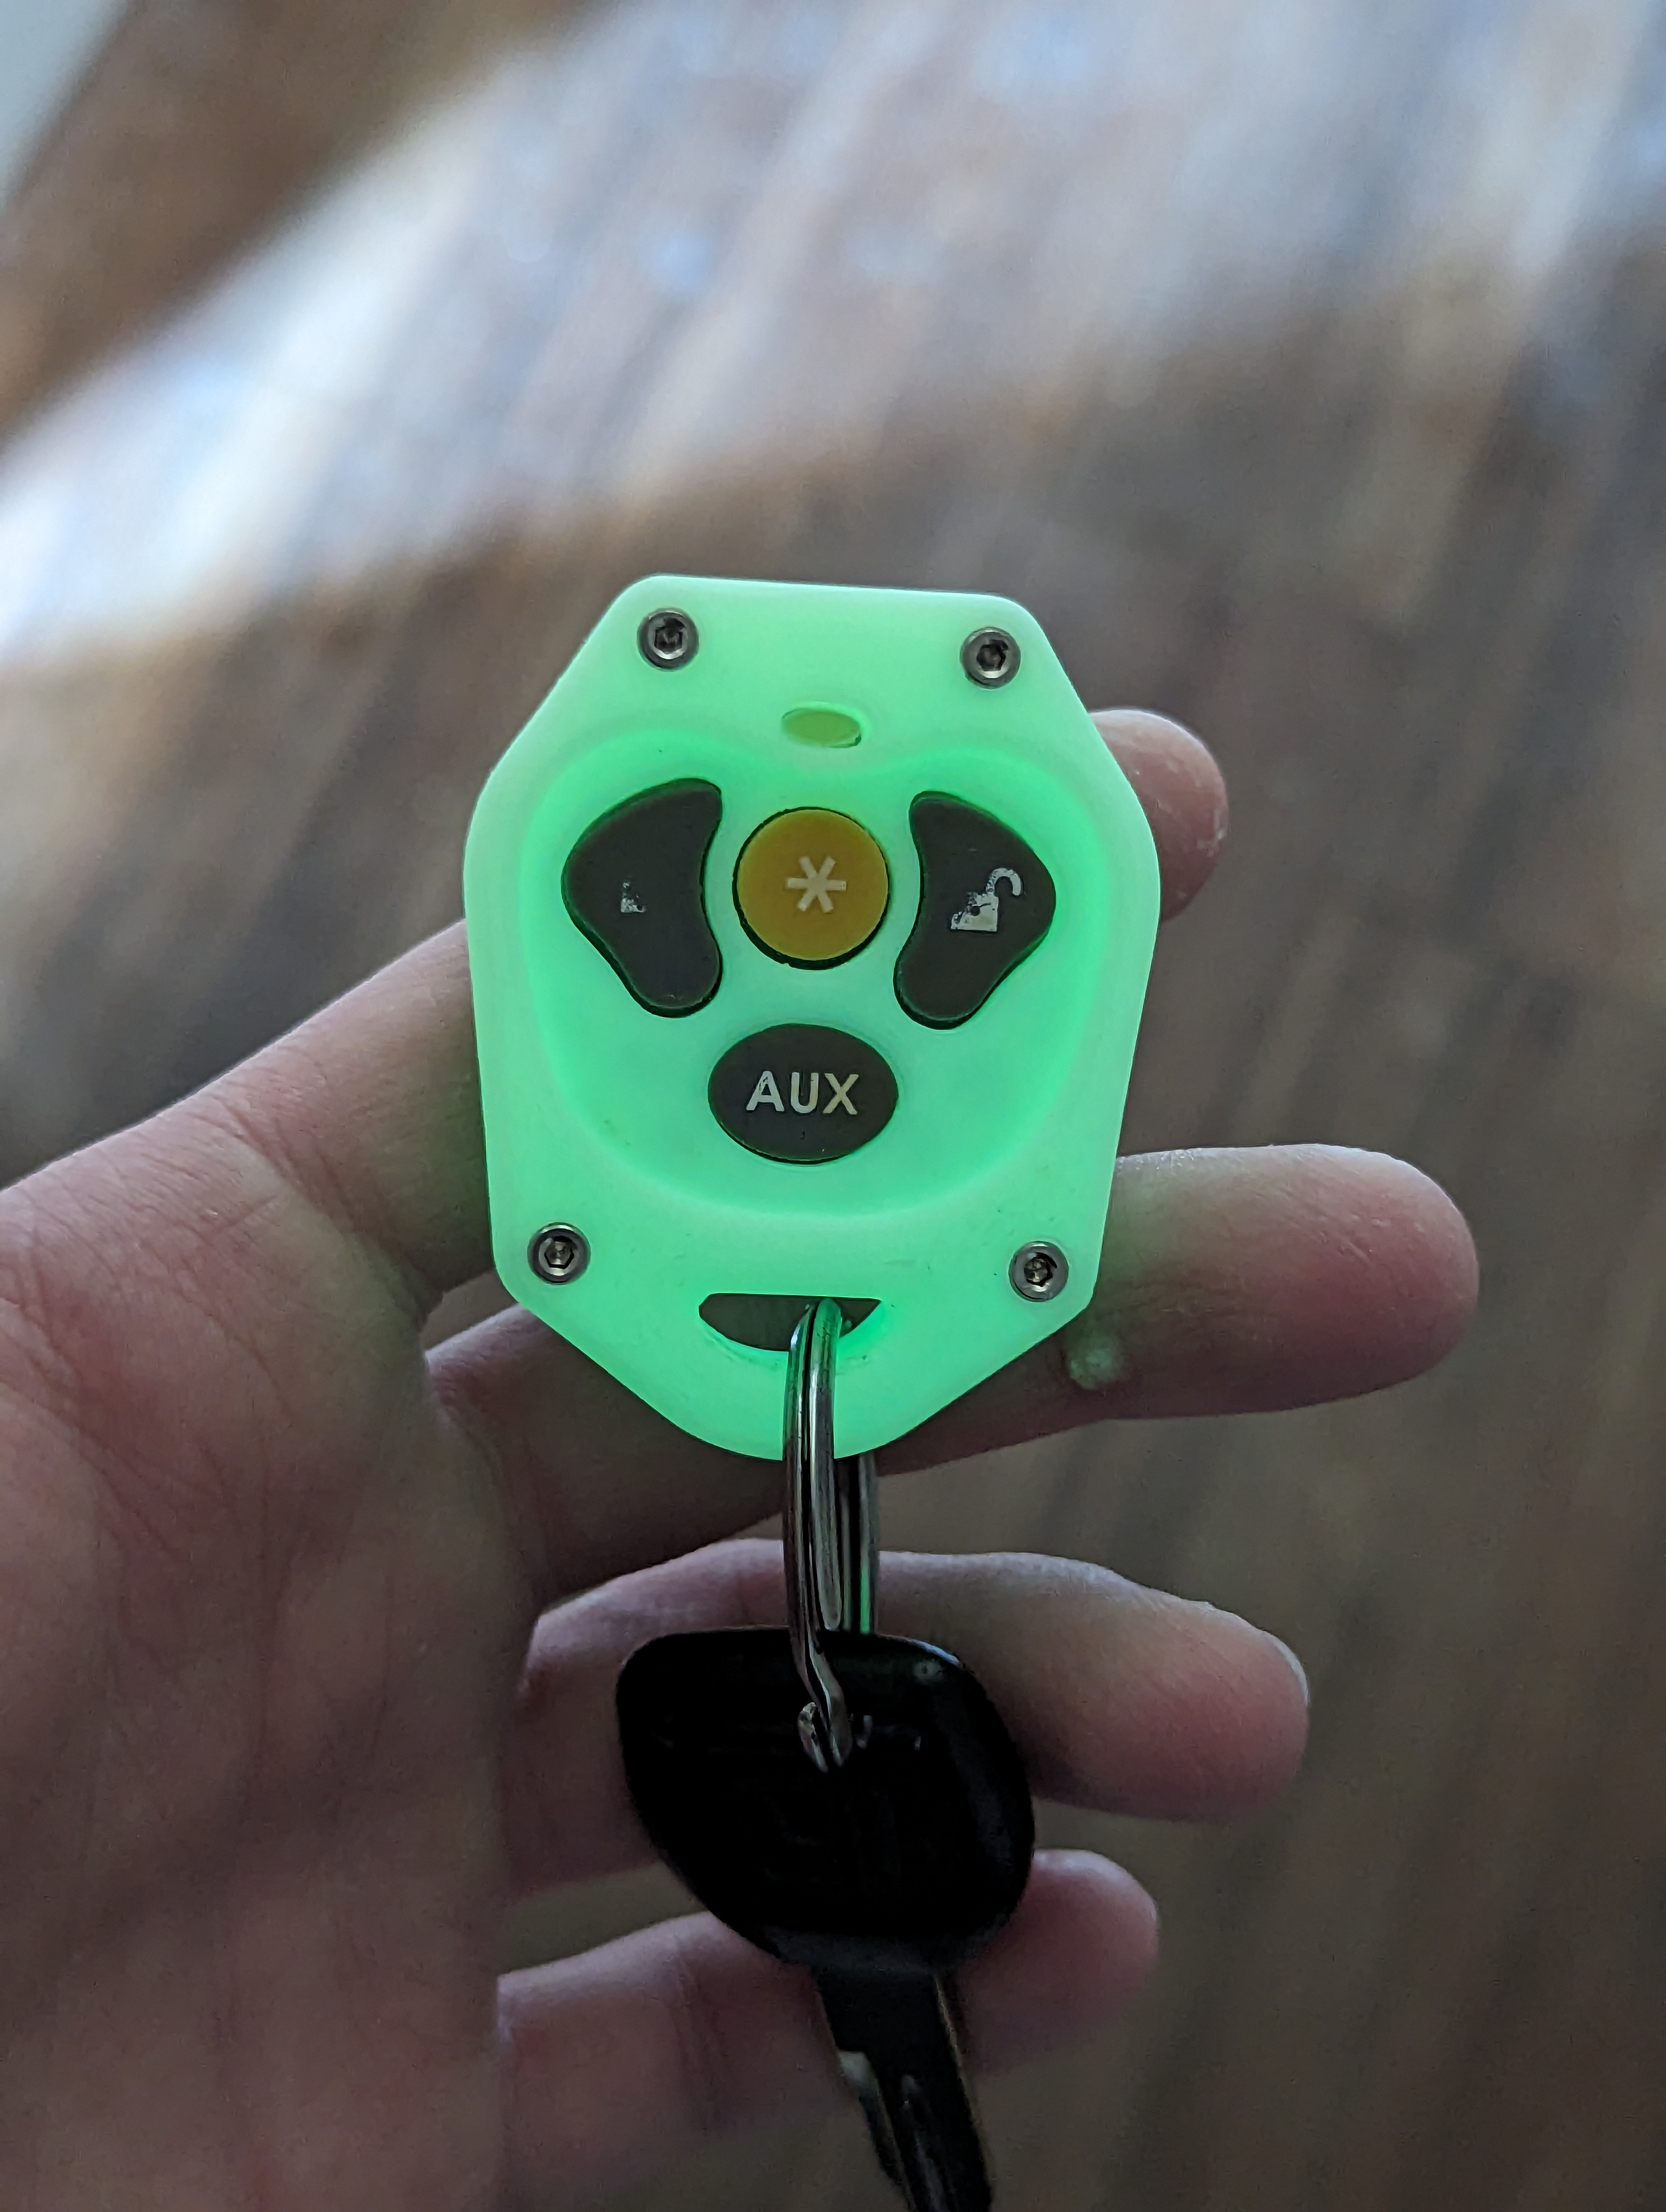
Overture glow ABS. It Prints well for me. To be fair, I took these pictures right after walking inside from the sun, so it was nice and charged up.
In the order of acquisition:
- Ender 3 (Converted to an Ender Extender 400xl). Dragon hotend and EZR struder.
- Ender 3 Pro with dragon hotend, EZR struder (currently being fitted with a Sherpa Mini DD). Running Klipper.
- Ender 5 with Biqu H2 v2s Revo (recently got all the parts to convert this one to a Zero G Mercury one.1).
- Sovol sv04 (With Copperhead heatbteaks).
- Ender 2 Pro with E3D Revo Hotend and MicroSwiss Bowden extruder. Running Klipper.
- Voron V2.4r2 350mm.
Currently all are operational except the Ender 3 pro, due to the Biqu H2 v1 blowing up on me last weekend and forcing an upfra to the dragon+Sherpa_mini+HeroMe toolhead.
What I am about to say will probably go against what at least a few people on here will say, but I’ve been printing PETg (and PLA, ABS, tpu, etc…) for about 5 years now on 6 different machines. It all started where you are now, on a stock (besides a microswiss hotend) ender 3 and a glass bed.
For me PETg Prints as easily as PLA every time by following these guidelines.
- 1. This is the number one most important thing when printing PETg. MAKE SURE IT’S DRY. PETg is very hygroscopic, which means it absorbs moisture from the air like crazy. It’s a requirement (IMO) to get a filament dryer, or food dehydrator to dry your PETg. I dry it at 120°F for 6-12 hours in a modified flld dehydrator. Even when stored in a vacuum bag with desiccant PETg will still not stay 100% dry. Wer filament will bubble and make it weak, make it stringy as a guitar, and lead to weak parts.
- 2. Invest in a PEI coated spring steal build surface. Smooth and textured both work awesome. It just depeton what surface finish you want. Personally, I would start with one that is powder coated with a textured finish, as it’s more forgiving to uneven beds and also releases super easy once it cools off, usually the part will self release so you can just grab it right off.
- 3. Don’t use any type of adhesives on the PEI. We use PEI on our high dollar, over engineerd Voron printers for a reason. When you heat it up to the proper temp, prints stick to it like theres no tomorrow, As long as you keep it clean! I don’t even bother with isopropyl alcohol anymore, use blue dawn and a paper towel in the kitchen sink. Dish soap is a surfactant, which means it washes contaminates away, instead of just moving them around like a solvent does (isopropyl). From talking to people online about it, some of those adhesives can actually cause adhesion issues.
Temp: I print PETg at 245° first layer and 240° after that. I run 75° on all of my beds with PEI sheets and have great adhesion.
Part Cooling: PETg doesn’t tolerate part cooling as well as PLA. I run my 5015 setups at about 30% fan speed which delivers a good balance of print quality and strength.
It should also be noted that you should really invest in an all metal hotend when printing above above 230°C. The PTFE tubing in the stock lined creality hotendt begins to break down above this temp and puts off some really bad chemicals, like chemicals that are said to eat holes in your brain amd stuff… Also, you will have less headaches with an all metal hotend, just be sure to lower your retraction accordingly.
Well, this has turned into a wall of text so I’m going to stop here. If anything I said doesn’t make sense justlet me know and I’ll be happy to clarify. Cheers.

 3·1 year ago
My friend, you have nothing to worry about. Try 6 printers and over 150 spools…
Glad it’s not just me. I can’t even log in on liftoff anymore for some reason, just sits there loading forever. Tried clearing cache and data and reinstalling to no avail.


 14·1 year ago
I’ve settled on liftoff until boost is released. Seems to be the best combination of functioning features and nice UI IMO.
This list looks about right to me


I built an LDO Voron v2.4 kit and it’s amazing. It Prints multiple times faster than any other Printer I own at noticably better quality. It wasn’t cheap, and took a while to finish. But it was worth it.
Yup, I have a bunch of lemmy apps on my phone, but lately I have found myself using Liftoff the most, and Jerboa is probably second in my opinion.
That’s awesome. I’m currently in the process of designing the PCB for the 40% ortho I’ve been working on. Once I’m done with this one I’m definitely going to build a split, maybe I’ll have to build one of yours because the more I look at it the more I like it lol.

 1·1 year ago
Thank you kind sir


This looks really cool. I’ve been interested in the idea of keyboards with built in trackballs for a while now, I really need to make some time to build one.
Thanks for sharing!
 3·1 year ago
Same here. I subscribed to release notifications over on github too.
Yeah I almost forgot about that. I’ve also noticed lately that whenever you post a comment it appears twice as if you double posted, but in reality there’s only one comment.

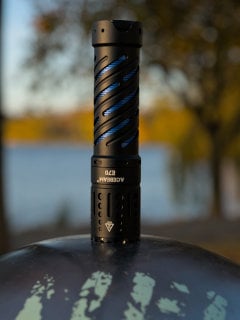
Convoy L21b - SFT40.


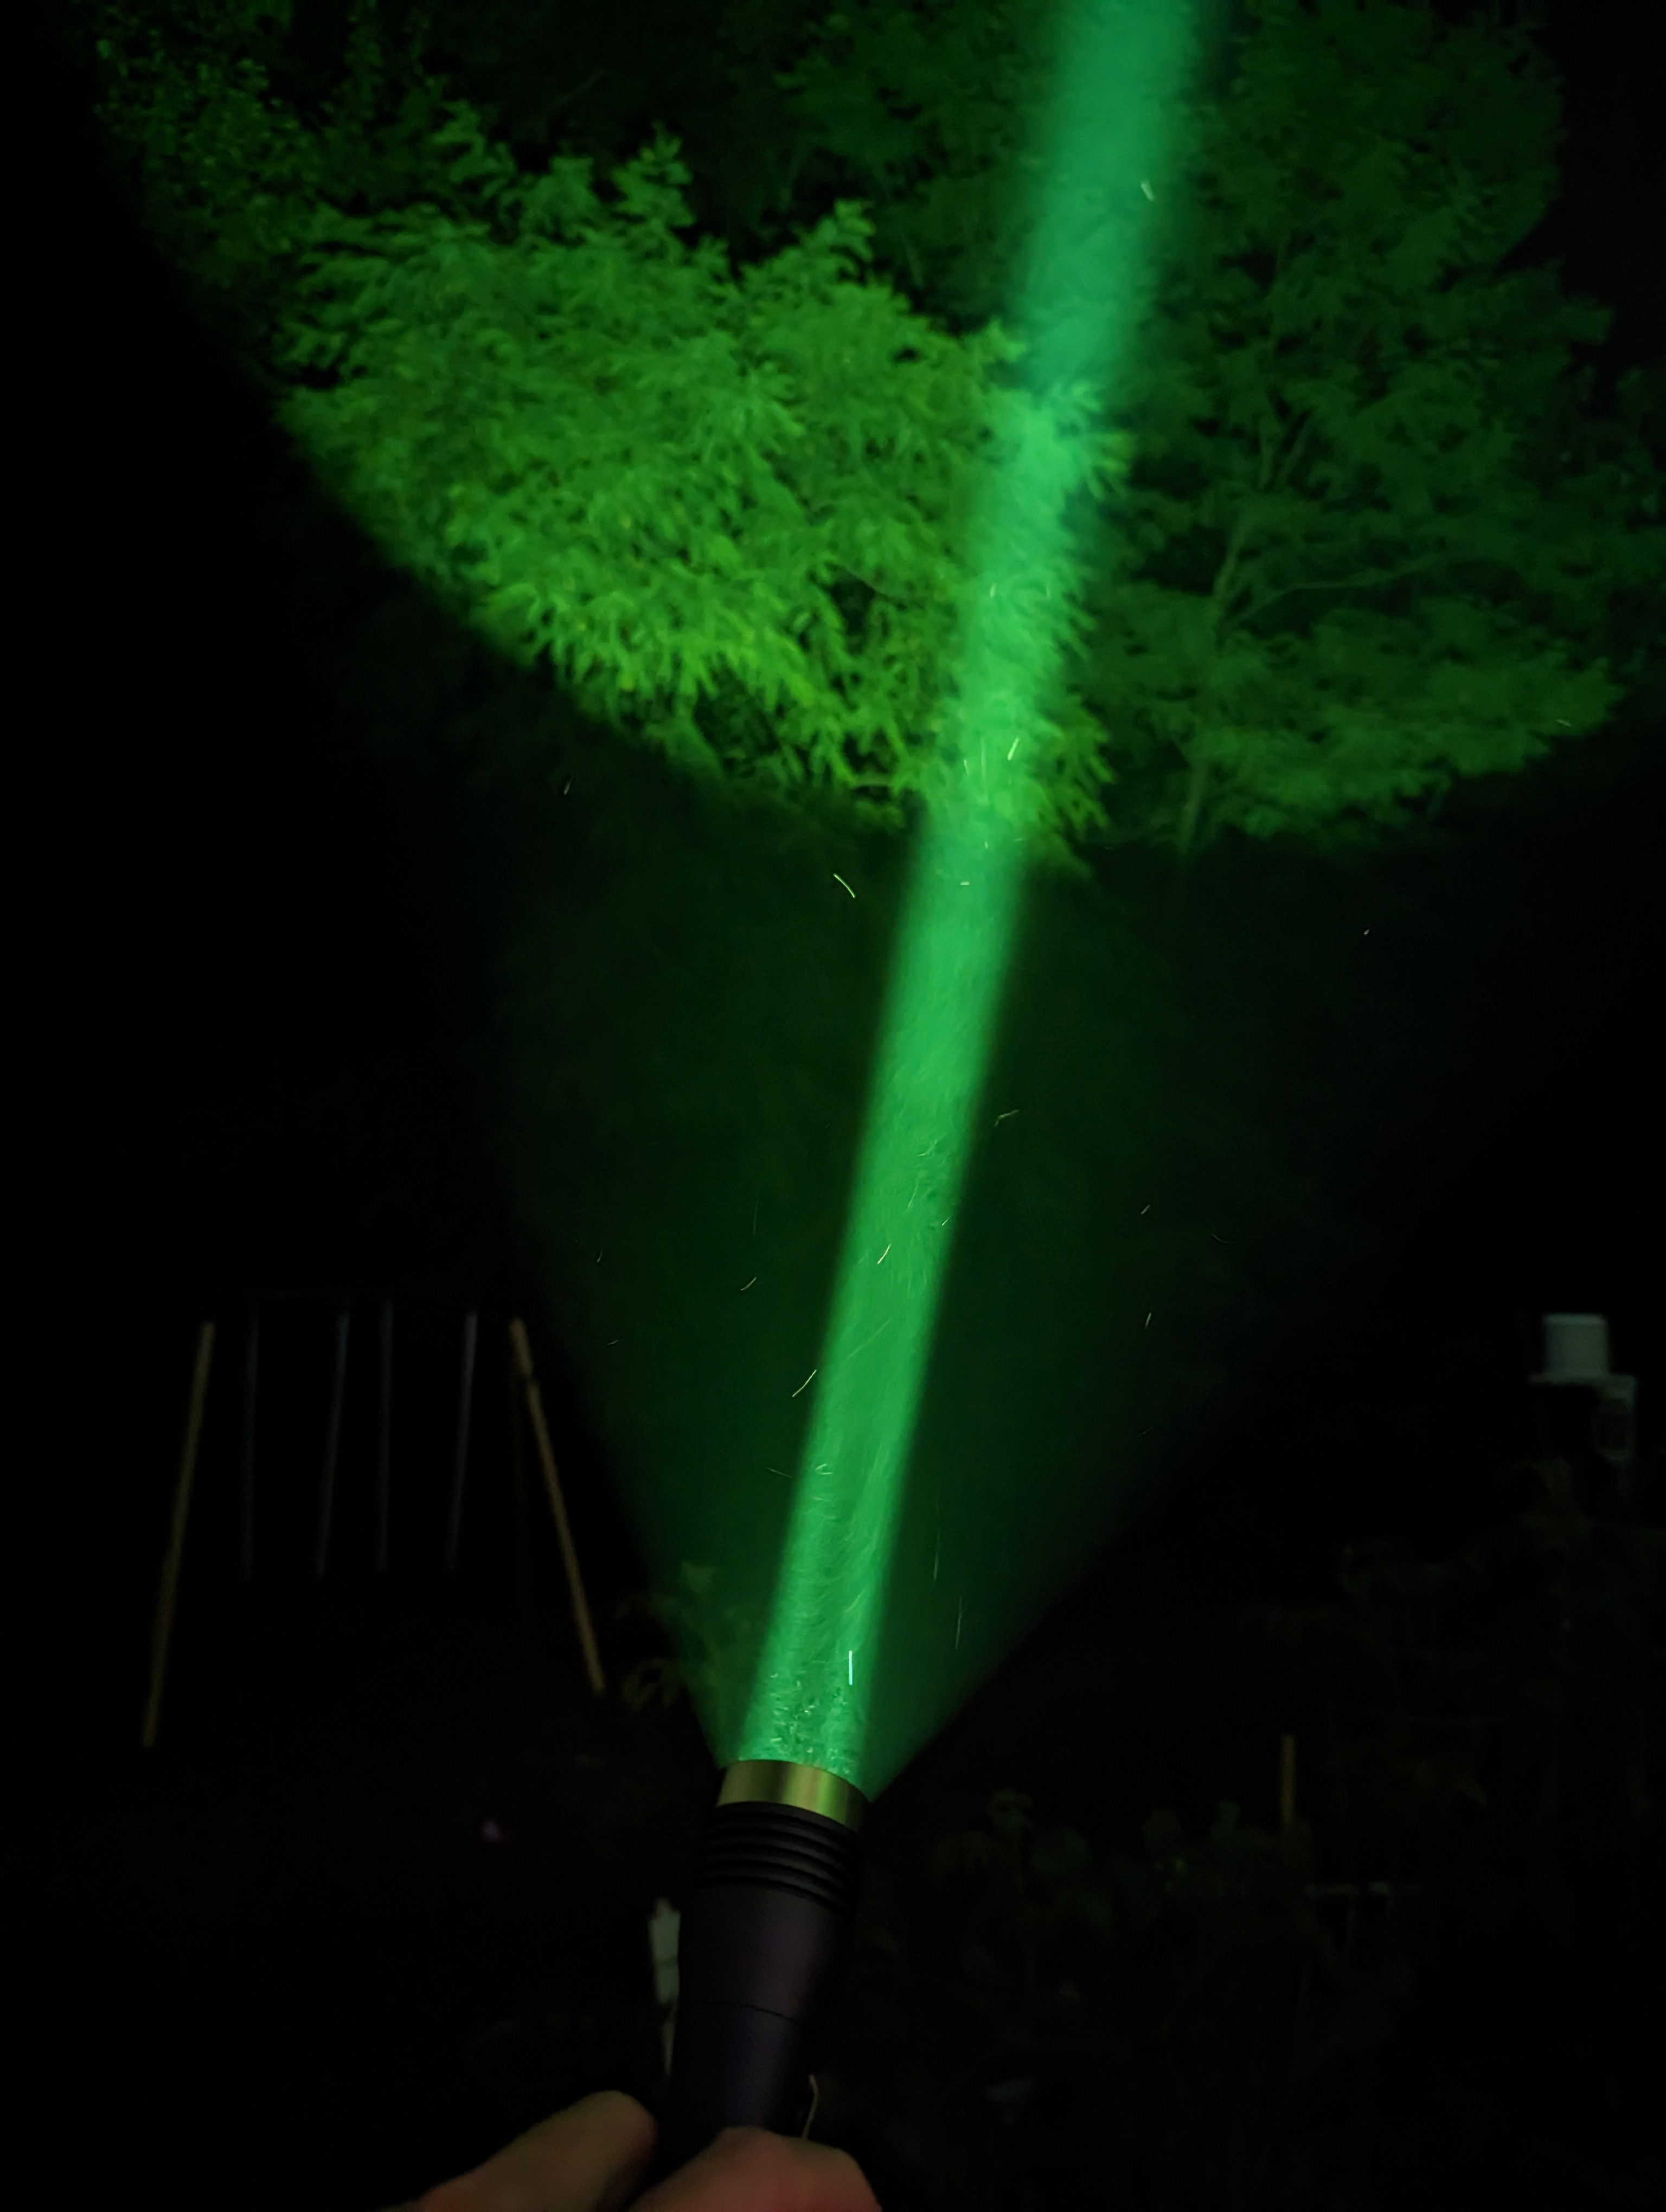
Convoy C8 - W1 blue.
Yeah same here. Tje decorative stuff can be cool but I also tend to stick with functional stuff. That project your working on sounds pretty cool, I’m looking forward to seeing how it comes out. Electroplating prints is something I’ve been interested in for a while but haven’t tried it yet.